
If a piece of clothing gets too “fiddly”, my son just won’t wear it. If it has too many buttons, is difficult to pull over his head or pull up its done. Zippers on pants are even pushing it. He … Continue reading
If a piece of clothing gets too “fiddly”, my son just won’t wear it. If it has too many buttons, is difficult to pull over his head or pull up its done. Zippers on pants are even pushing it. He … Continue reading
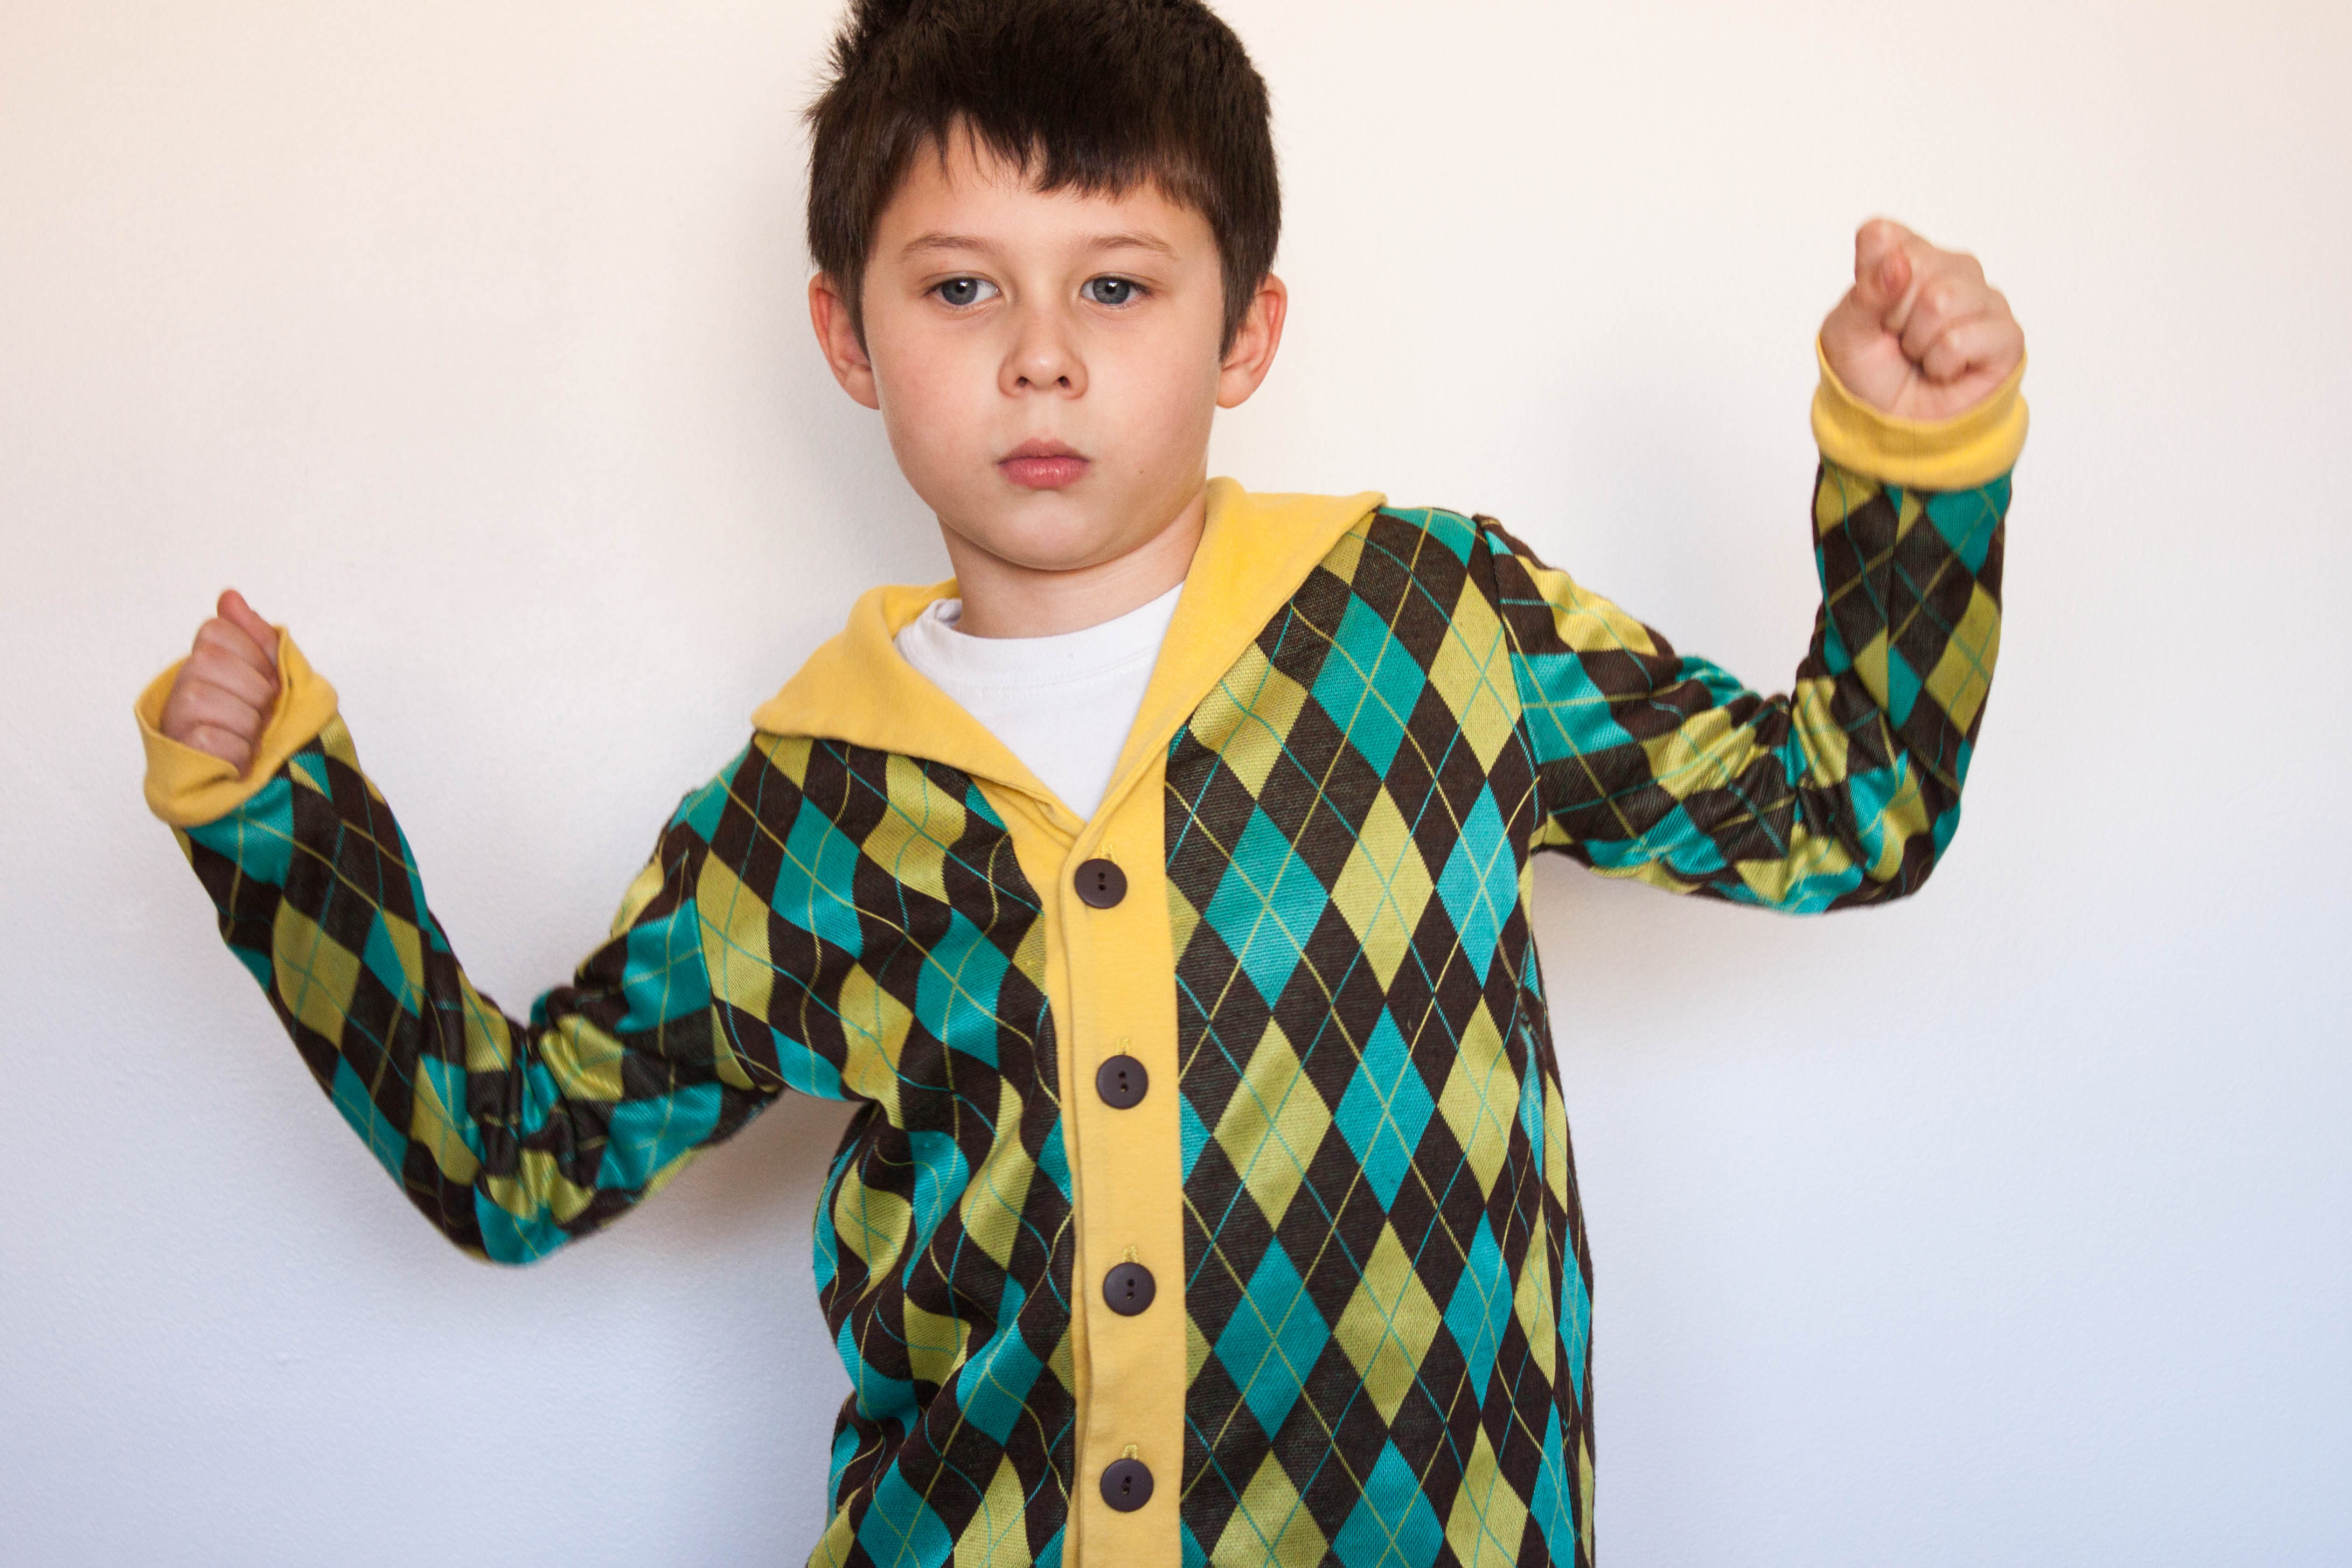
I sewed in Dutch. Yes. I did. There were a few rough spots, but when I saw this pattern by Zonen 09 I had to try. Its the Ole Cardigan: So if you are into sewing for boys (which I am) … Continue reading

I make a lot of basic clothes for my son. Basic, meaning they are neutral colors and styles that can mix and match with a lot of things. I also like to make his pants. Just for the fact that … Continue reading

My boy is 110% boy. He runs, scratches himself up and destroys clothes. He loves to wear comfortable clothes that move with him. He would live in a sweat pants and sweat shirt. If I let him… He is at … Continue reading
<a href=”http://www.bloglovin.com/blog/11816421/?claim=sszdbrk4n9q”>Follow my blog with Bloglovin</a>
Sorry – I know that link doesn’t mean much – but my next post will be available on Bloglovin – for people who like that service – as I do!
Happy Sewing – Cindi

I wanted to share some of the transitional pieces that I am making for my son. He has enough winter wear, but I thought it might be nice for him to have a few pieces of clothing that could take … Continue reading
I know I am supposed to be sewing a skirt – but my heart just isn’t in it. I had a really busy few weeks. And when I finally had some time to sew a few days ago, I was just really not inspired to pick it up and finish it. Which is really not like me – I don’t have a bunch of WIPs laying around. In fact – I don’t have any. Well – no I have one. A skirt….
So I decided to sew something for my son to jump start my sewing mojo again! I have been tearing pictures out of the kids catalogues that come to my door – Tea Collection (LOVE!!), J. Crew Kids, Lands End, Mini Boden – you get the idea. Planning some fall clothes for my son. Especially because kids clothing week didn’t go as planned either. Oh well. Better late than never!
So I decided to sew up a shirt for my son. I looked through my fabric stash and decided to make him a basic shirt. I choose a brown knit with some contrasting tan ribbing and pulled out the Hipster Henley pattern by Melly Sews. I am a big fan of her patterns – they are easy to adjust and make your own. I had made this pattern once before – so I knew it fit my son and I made some changes to the pattern. It is, after all, a Blank Slate – ready for your interpretation!

The Hipster Henley – Blank Slate Patterns – Melly Sews
For my version of the hipster Henley I choose a brown knit jersey that I got from fabric.com. I purchased one yard, and at 58″ wide, I have gotten two shirts out of it. Not bad! The tan rib knit is from my stash, and I don’t remember where I purchased it.
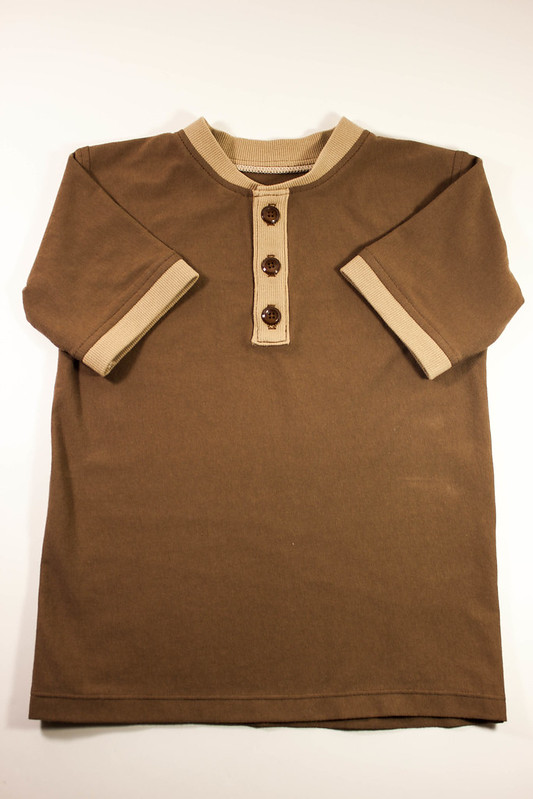
My version of the Hipster Henley
I really wanted this to be a long sleeve shirt – but alas, only enough fabric for short sleeves – and I was pretty set on this fabric combo
Changes to the pattern are as follows:
– Instead of squaring the neck ribbing at the placket – I curved it down. I like the way it lays on the neck that way. I found the squared neck finish gapped and just didn’t behave on the first one that I made.
– I added a ribbed band to the short sleeves – a “ringer Henley” If you want to get technical, I suppose…
– I left off the pocket
– I squared off the bottom hem of the shirt, in the pattern its curved.

curved neck band and ribbing detail on sleeve
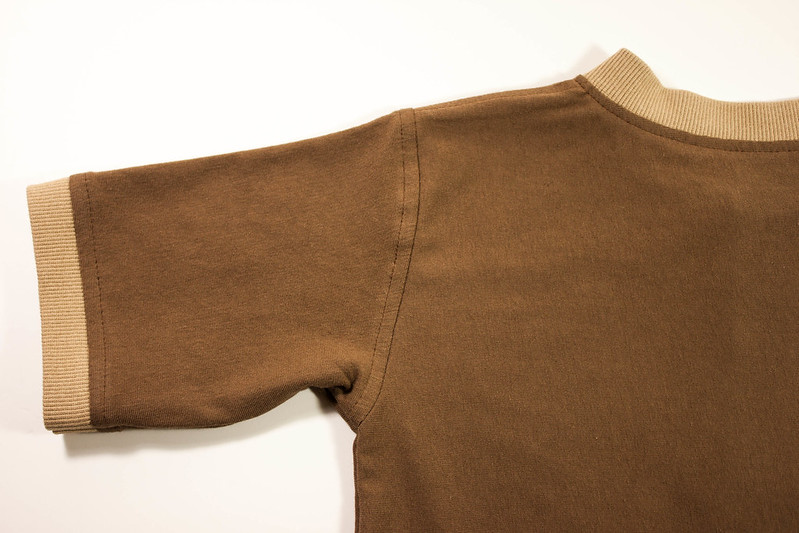
Topstitching
I also took time to serge and then topstitch key seams like the neckline, shoulder, armhole and sleeve cuff. I am a huge believer in proper finishes. They really make the difference in the end in how the garment looks and wears. I topstitched 1/4 inch away from sewn seams, catching the serging as I sewed.
On another sewing note – this time around, when making the placket I was not shy in trimming down the seams so that the placket didn’t end up really thick and hard to topstitch. I was actually pretty aggressive at trimming the seams and used some Steam-a-Seam to help me hold the layers in place while I sewed them. They are not perfect – but they are MUCH better than the first one that I did. There was just so much flipping fabric in the first version that it was almost impossible to sew through the layers in a neat and orderly manner.
Have you all heard of Steam-a-Seam? I am a pretty traditional sewer, I don’t use a lot of fancy notions – BUT this stuff is awesome!!! It is marketed towards quilters, but I use it for tricky situations where I don’t want the pinch of a pin. Inserting zippers – no pins!! And in making this placket I was able to trim the seams down, apply the steam a seam and flip the placket over and everything stays put! Love it!
So that’s how I got my sewing mojo back. I do need to get going on that skirt – The Super Online Sewing Match is already on its third challenge, and I am not even done with my first..
Hopefully some good news on that front next time.
Do any of you have works in progress lying around waiting to finish? How do you feel if you aren’t caring for what you are doing? Do you give yourself permission to put it down? Or do you plow on?
Happy Sewing!
Today I did some sewing for Kids Clothes Week. This is a “seasonal” sew along where you commit to sewing children’s clothing for at least one hour a day. On Monday and Tuesday I did not work on sewing any kids clothes – but its been a busy week. But I did sew for a few hours today and I finished up some pajamas that I had been working on for my son.
I made them from the first pattern that I drafted off of a RTW (Ready to Wear) garment, a pair of pajamas that my son loves. Its funny because the parts that I thought would be hard were easy – but there were some aspects of drafting off of RTW clothing that I didn’t expect. And I really should have known better. It was the measuring of an already sewn garment that was the most challenging part for me.
The fabric I used is a 100% cotton print from fabric.com.

RTW pajamas that I drafted my pattern from
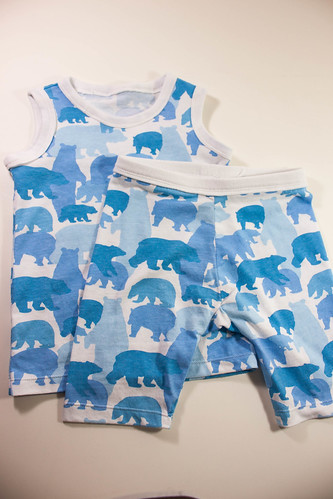
Pajamas I made from my drafted pattern
So these were really fun to make! The short pants were the biggest challenge, the top was pretty straight forward. Each pant leg is only one piece of fabric wrapped around the leg and joined on front and back center and the inside leg, and then there is a gusset at the crotch. The gusset was actually not the hard part, the hard part was figuring out how to draw the leg pattern piece as the shorts front has a low rise. This is what I came up with (on my second try)

Short pajama pant pattern – cut two and gusset
Construction of the pants was easy. I started with the front and back center seam, leaving the inside leg unsewn while I constructed the gusset. I started by marking my seam allowance on the gusset with a disappearing marker, and pinned it to the front right leg, right below the center front seam.
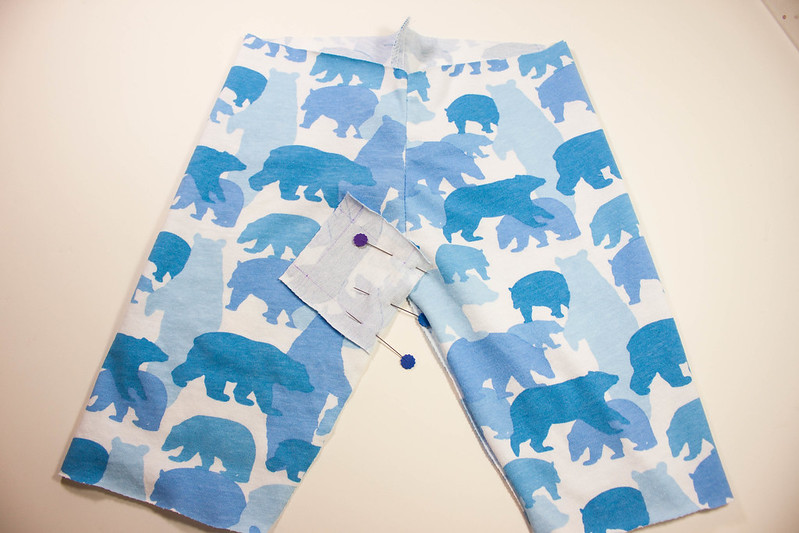
Center front and back seams sewn and gusset pinned to the front of the right leg
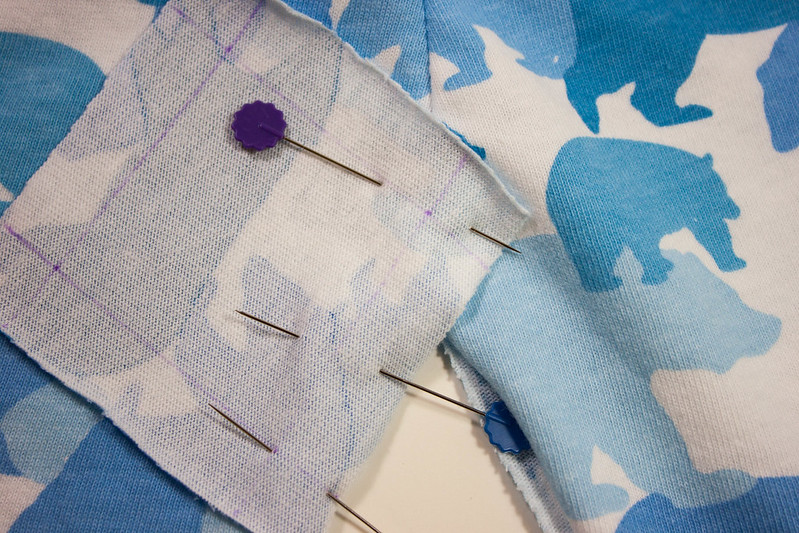
Seam allowance marked on gusset
I worked around the gusset, sewing only from each intersection of the seam allowances to the next intersection, rather than sewing into the seam allowances. This left me with a nice, cleanly inserted gusset without puckers. I also made sure that the intersections of the seam allowances were centered over seams.

Seams sewn around the gusset, ending at seam intersection points
It did take a little fiddling around, but the end results were worth it!
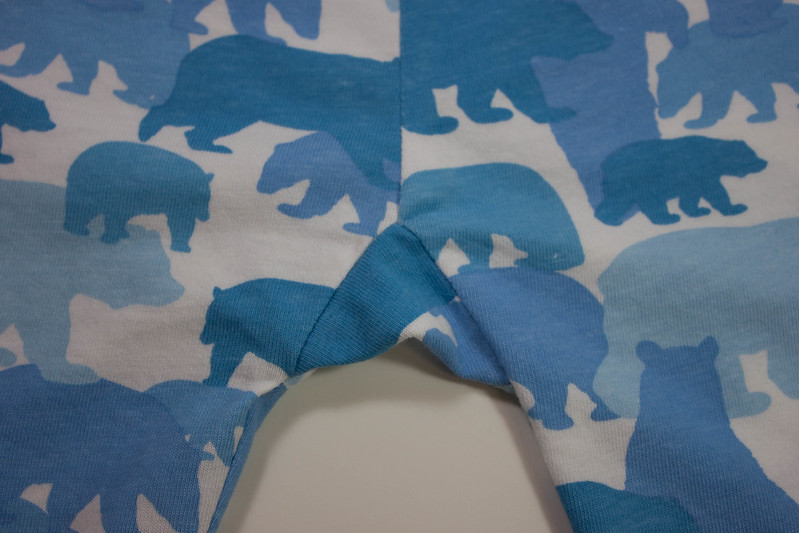
Gusset Sewn!
After the gusset was inserted, I then completed the seams on the inner legs. From there I inserted the elastic around the waistband. I just stretched it ever so slightly…

Elastic Inserted into waistband
I cut a piece of white cotton rib knit to cover the waistband and I used the cover stitch on my serger to encase the elastic and create a waistband. My serger with the cover stitch is new to me, so I need practice making the stitch even and neat!!
From there I used the cover stitch again to hem the legs of the shorts. I use a “wooly nylon” thread in the looper on serger so that the cover stitch has give and stretches with the fabric, and the stitches don’t break. I use Polyarn from Superior Threads .
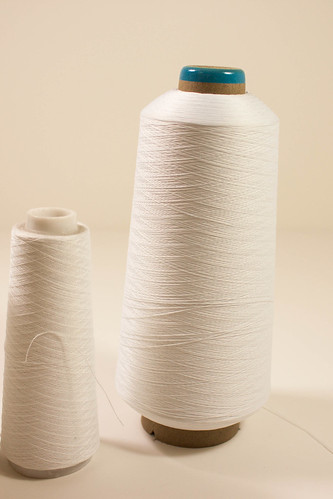
The large cone of serger thread is polyarn from Superior Threads – It stretches and is wonderful for use in the loopers of a serger – its great for rolled hems, too.
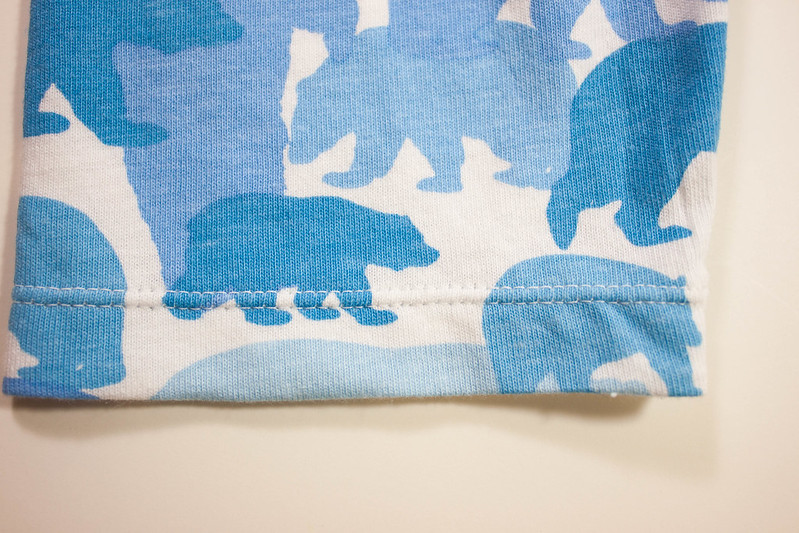
Cover stitch for hem on legs

Completed Pajama shorts
So that I what I have managed to make for Kids Clothes Week. I would like to make another pair of the pajamas, just to work out some of the kinks in the construction, and to practice the cover stitch on my serger a little more.
And if you have read this far – Thanks!
They announced the Round Two challenge for the Super Online Sewing Match over at Sew Mama Sew – Its an adorable girls dress from Oliver + S patterns!! I have two adorable nieces to who I will sew for, and I think I may have found the perfect fabric for it from my stash! Yes! More stash busting! Its a coordinating pair of vintage cotton blend fabrics that were purchased by an acquaintance of mine in the 80’s in Hong Kong – take a look!
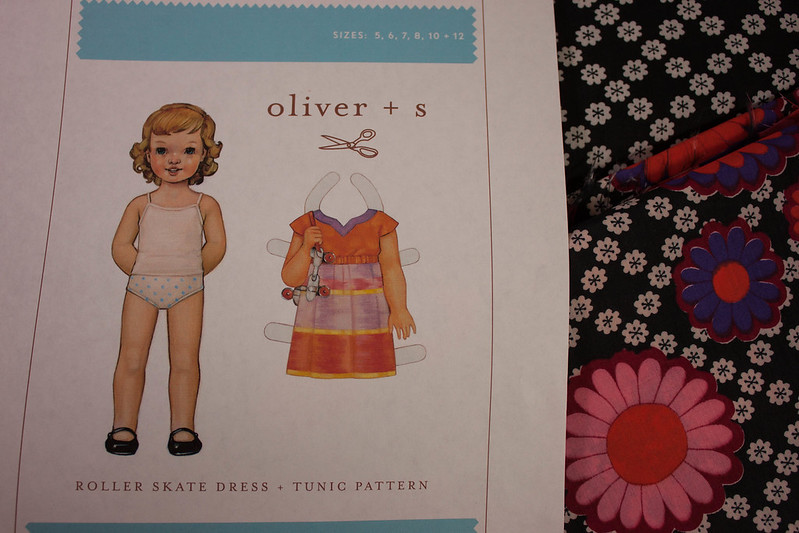
Oliver + S Roller Skate Dress Pattern – and possible fabric choices
Thanks for taking the time to read! I will post about the top to the pajamas in the next few days and update on the A-line skirt that I am re-doing the muslin on.
Happy Sewing!
Cindi
So I decided to sew along with the Super Online Sewing Match! One of my goals this year was to join in on a sew along or a sewing contest, and this one seemed like a great place to start. The first challenge is to sew an A-Line skirt (hey – does that sound familiar to anyone?) using the online Craftsy class Design and Sew and A-Line Skirt by Deborah Moebes. I have stalking Craftsy’s free classes for awhile – they are great!! But had yet to pull the trigger on purchasing one. But Craftsy has offered a 50% discount through SewMamaSew! Yep – couldn’t pass that up. And I am glad I didn’t – the class was great!! So that’s the nitty-gritty!
Thankfully people sewing along with the Super Online Sewing Match have more than a week to complete their garments! This is the plan….

Vintage Linen Boarder Print and Red Linen
Take this awesome vintage boarder print handkerchief linen found at an estate sale and add this red linen as a yoke to the top of the skirt. This vintage handkerchief linen was found at the estate sale of a local seamstress. Most of the linen had already been cut and basted together in a sort of “Mumu” dress. I have taken apart the dress and will use the fabric from it. Because its really quite pretty! I wish I knew the history of the fabric. The red linen was purchased locally – but it was already in my stash and I will probably use some cotton batiste to line the skirt. If I cant find any locally (which I probably can’t) I will use some Muslin.

Half-sewn Mumu rescued from an estate sale
You gotta have vision!!!
I spent last week working through the Craftsy course – and I drafted my skirt pattern and sewed up a muslin. Now we come to the problem! I decided to draft a pattern to fit my dress form. My poor, wonky, Craig’s List dress form. I swear I measured it – and still, as you can see there is practically no room for darts. So I must have measured it too tight. Or my son came along and made some adjustments to it. Which is entirely possible. I fiddled – and the muslin is too tight.

Wonky Muslin on a Wonky Dress Form
So next order of business – a new muslin!
This week is also Kids Clothes Week – which I am also attempting to participate in. I love sewing for my son – and have been making a lot of things for him lately!
What are you favorite types of things to sew?
Happy Sewing! Cindi
A journal of quilting, sewing and otherwise creating.
An Hour a Day, a Stitch in Time
The Misadventures of a Cheap Crafter
All things patchwork and quilting ...........
let's make things
Sewing doesn't have to be pink and floral...
Refashions Beyond My Wildest Seams
A great WordPress.com site
A Sewist Club blog
Fun patterns for modern makers
Life looking after big ones and little ones. Hectic, crazy fun.
Handmade.
I make stuff!
My life in Algeria, simple daily stuff.
Life in the fast lane at a slow pace
The adventure of NikkiM
